The circumnavigation of Vancouver Island is complete after 39 days and the return to the home port achieved. There are many boat chores to do, and the adjustment of re-entry into the world begins. I am fortunate that the systems worked and maintained well and the experience was positive.


The above list reflects the costs incurred during the trip. It does not include preparation, supplies and provisioning costs.
Gasoline – This was the greatest expense of the trip. Included was the purchase of a 5-liter jerry can in Port McNeill to increase reserve fuel. Gas in Canada is purchased by the liter and more costly than in the United States. In more remote Canadian locations, they round up to the liter and can sometimes run out of fuel. Canada no longer uses the penny, rounding your change down. Marine grade fuel is often available in Canada and the US.
Moorage – This includes 3 nights on Canadian Government Docks. This is a low amenity, value option not typically available in the US.
Entertainment – This mostly represents going to an establishment for a land meal and refreshments. However, the ventures were usually multi-purpose including internet access and communications, computer and electronics recharging, milestone celebrations and meeting up with friends.
Shower/ Laundry/ Propane/ Provisioning/ Garbage – Showers usually require a fee, though the cost and conditions can vary. Laundromats were available along the way with CA costs considerably more than US costs. I topped off my propane tank in Fair Harbour, for convenience, and to be sure I did not run out. I resupplied on fresh food in Port McNeill and locally grown kale at the Blind Channel Resort. The disposal of garbage can cost a fee, depending on where and how much.
Visiting Port Townsend and closing the circle on my circumnavigation of Vancouver Island. Hanging at Admiral Ship Supply with a friend and the Lady Washington is on the hard right in front of the store.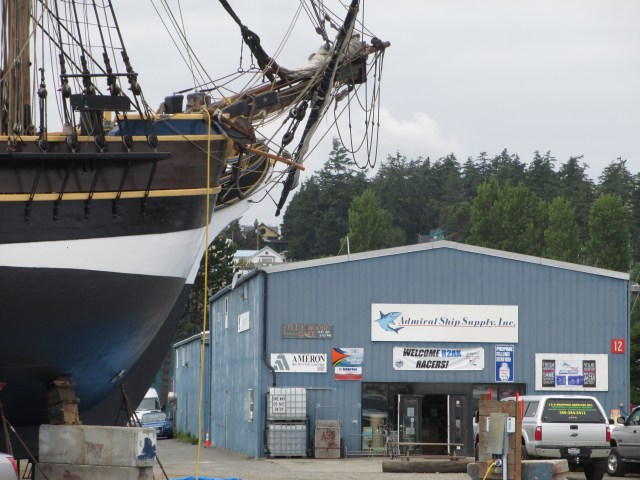
After 33 days, I’m back in the USA. Just checked in through customs in Port Angeles, which is the chillest place to check in through customs of the 3 locations I have done so by boat. I am pretty sure the customs official was in training as he had a silent partner and was double checking his checklist. It’s cool, I wasn’t smuggling anything. When(if) I arrive in Port Townsend I will have tied the knot on a circumnavigation of Vancouver Island. It’s pretty exciting and has been a liberating trip. A friend just turned me on to this quote. I feel it worth repeating.
To be nobody but yourself in a world which is doing its best, night and day, to make you everybody else – means to fight the hardest battle which any human being can fight; and never stop fighting.
e. e. cummings

Sunset from Dodger Channel, the night before I left for my transit of Juan de Fuca Strait.

Sailing across the shipping lanes in Juan de Fuca Strait. If anyone tells you steel doesn’t float, they are not doing it right.
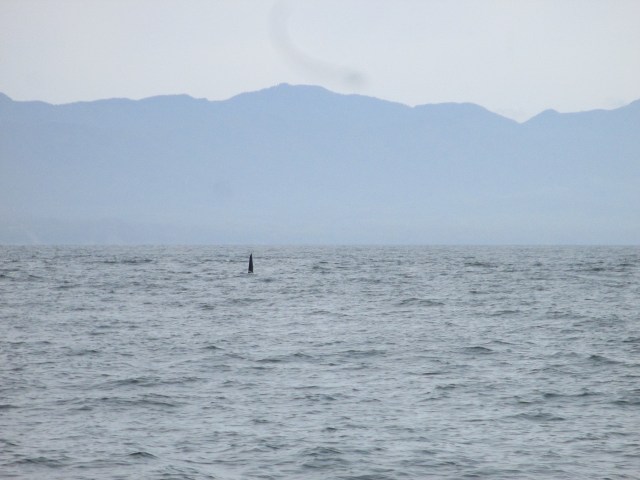
That would be a male Orca in Juan de Fuca Strait. As usual, many whale sightings.
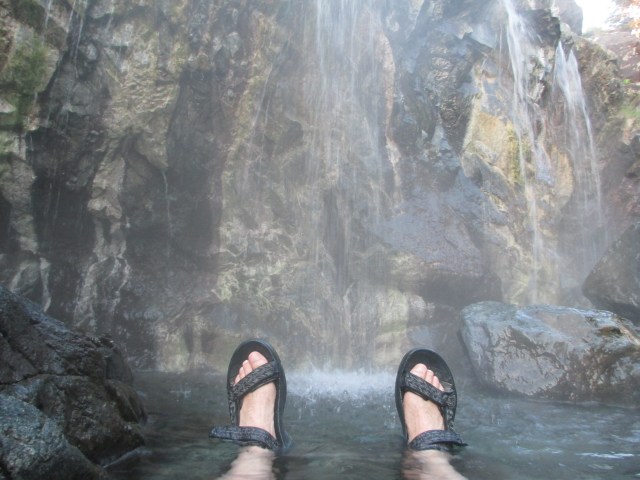
Ramsay Hot Springs. I’ve been here before, but it was well worth the return. Plus, it had been almost 2 weeks since my last shower. It was a two night anchorage as I planned a rest day here also. The first night I went in at 9pm and got the place all to myself, which is mostly a lucky break. I got to do a bit of au natural. The second night there were a group of hikers partying at the springs which made it not quite so serene, so that was a quick shower and soak. No matter, I had my time.
Note: You really don’t want to visit the springs between 8am and 6pm because the Tofino tour operators are bringing in hordes of people on tour boats during this time, with their cell phones and what not. (Unless you’re into that sort of thing.) The hot springs just aren’t that big and can only comfortably accommodate maybe 6- 8 people before it starts to feel crowded. Bring your boat and anchor out or camp so you can go early in the morn or late at night.

Pedro gets a Bath and yes, then a Shave.
And a Shower.

The Crevasce of Pools.

The View in the Other Direction.

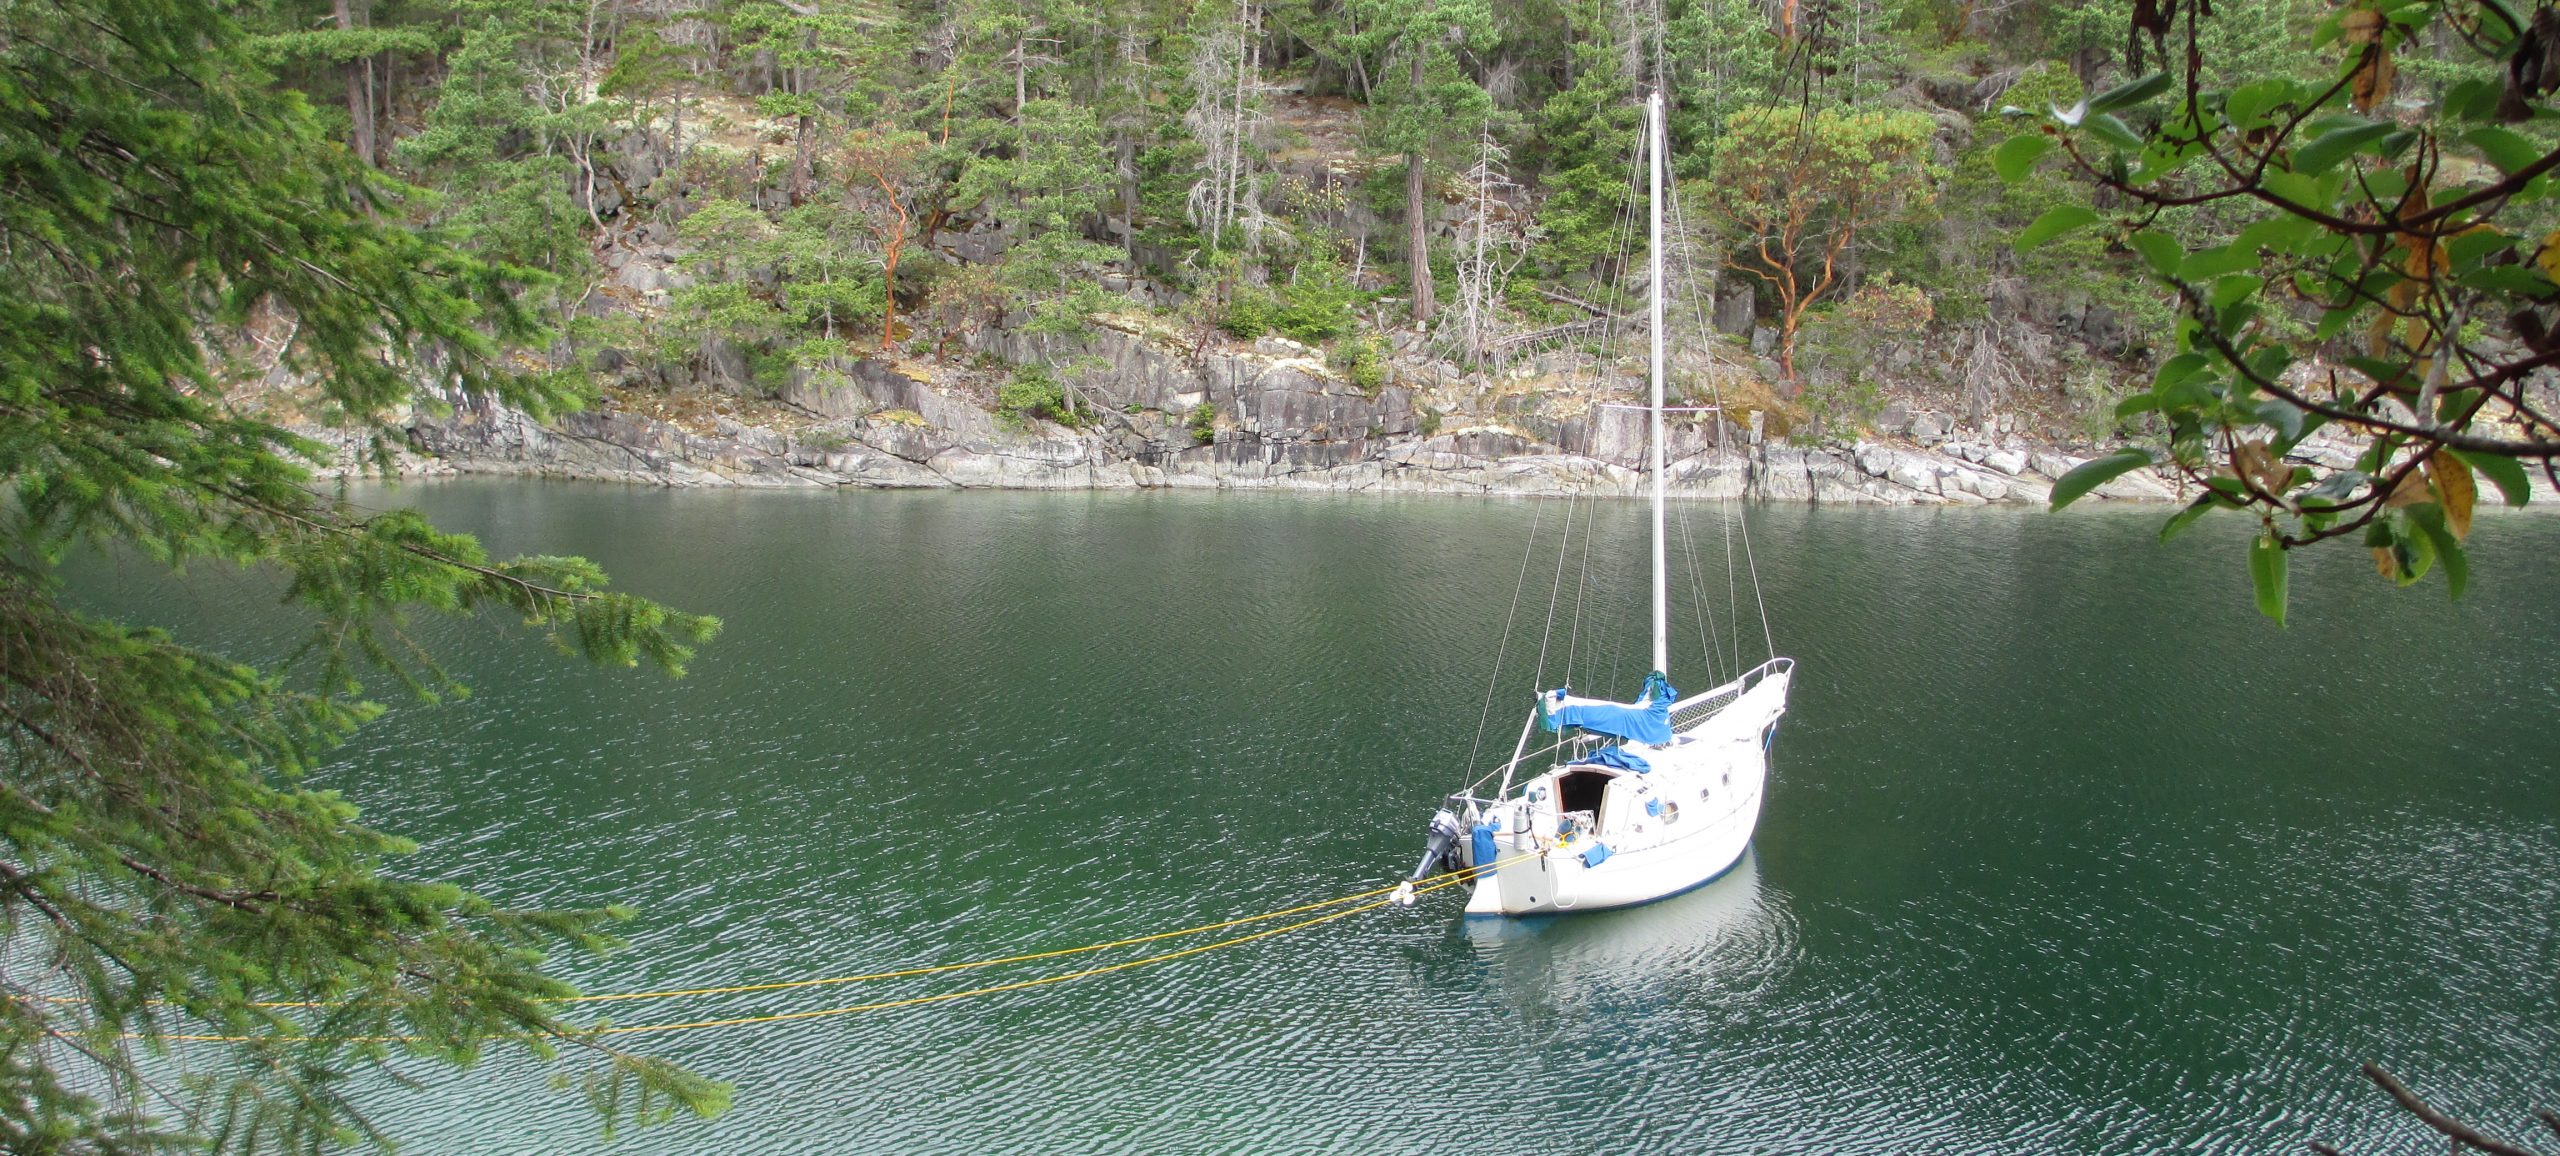
Sampaguita at rest in Dixie Cove Provincial Park in Kyuqout Sound. Lyndon, Tiffany and I braved the Northwest rain-forest and climbed the bluff above the Dixie Cove to catch the view and see if we could receive the weather channel on the VHF radio. We succeeded in the climb, but not in the reception. We managed to get pretty earthy (read as dirty) in the process, but it was worth it.

Xanadu – The Walde’s Niagara 35
Check out their story:
I spent two nights in Port McNeill waiting out the weather at the Government dock and on a walk I saw an enormous nursery stump in someones yard. It was the largest I had ever seen. When I say nursery stump, I mean that they planted their own flowers in it. I provisioned on some fresh foods and was anxious to get underway. It is a bit of an odd town of fisherman and lumberjacks and not aesthetically appealing. I may have been less anxious if I were at anchor, but I doubt it.
Not much time for blogging on the go. Taking care of the boat and myself takes everything. I’m in Westview, BC, my first rest stop in a week. My goal is to circumnavigate Vancouver Island. There are no guarantees, and many potential pitfalls. My first night at a dock. I ducked in here to get out of the mighty Northwest winds. I beat up Malaspina Strait yesterday against them, with current against wind. I read about how it could be. Now I have proof. Very intense and wet, rolling between 10 and 30 degrees of heel. It makes you feel alive. Sampaguita is in the lower left and the mighty Island is in the background. 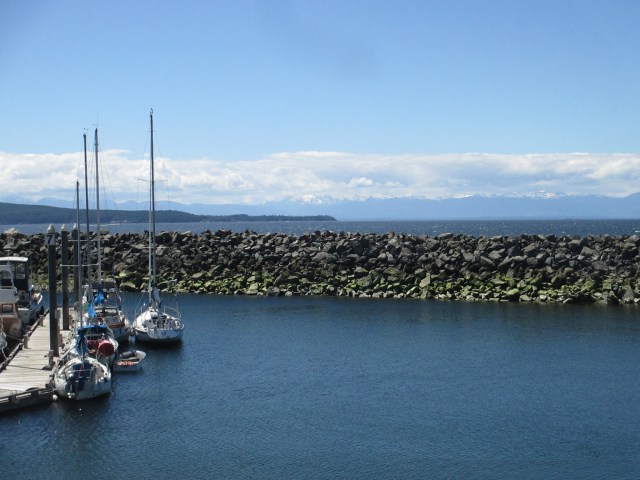
A new propane solenoid and rewired stern light. The project is not completely done in this picture but it is now. You can see the jug of distilled water as I was doing battery maintenance too.

Here we have an auxiliary set up. This little 17 amp battery will charge my phone and other USB devices. It will also run the DC to AC power inverter if I need to charge the camera battery or VHF. It might not be so good for the Mac though. The solar panel isn’t much but I will use it to try to keep the battery topped up. These are all loaner items and the set-up will be ad hoc as opposed to well spec’d.

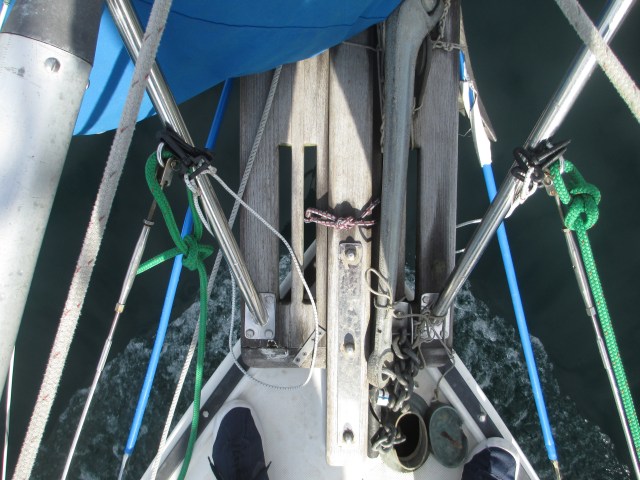
Here I added a Sta-Lok fitting to my starboard shroud. The T-bolt was bent so I sawed it off at the swage and replaced it with a new one and a toggle, which doubled as a spacer. This was my first Sta-Lok installation and I feel good about the result. It was also an easy and inexpensive fix that I was able to manage at the dock.


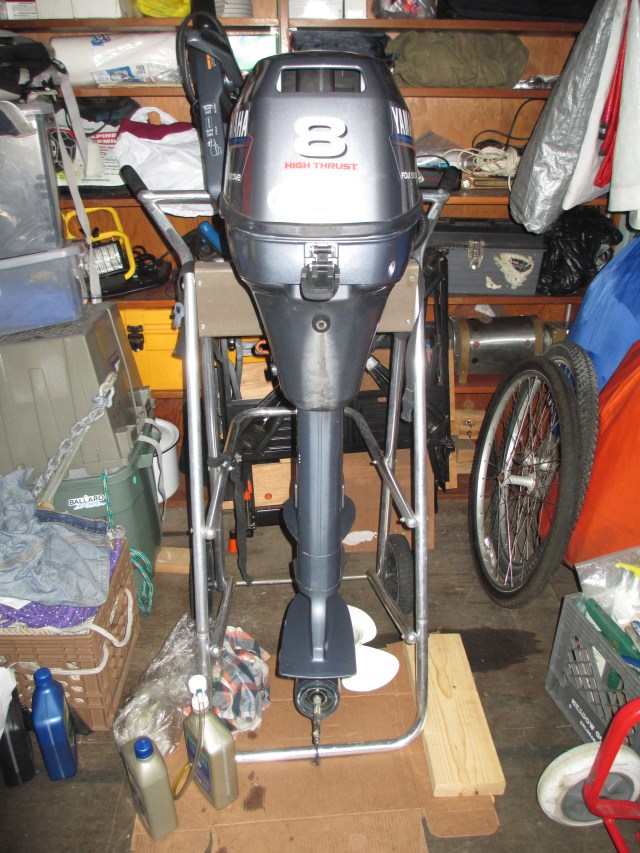
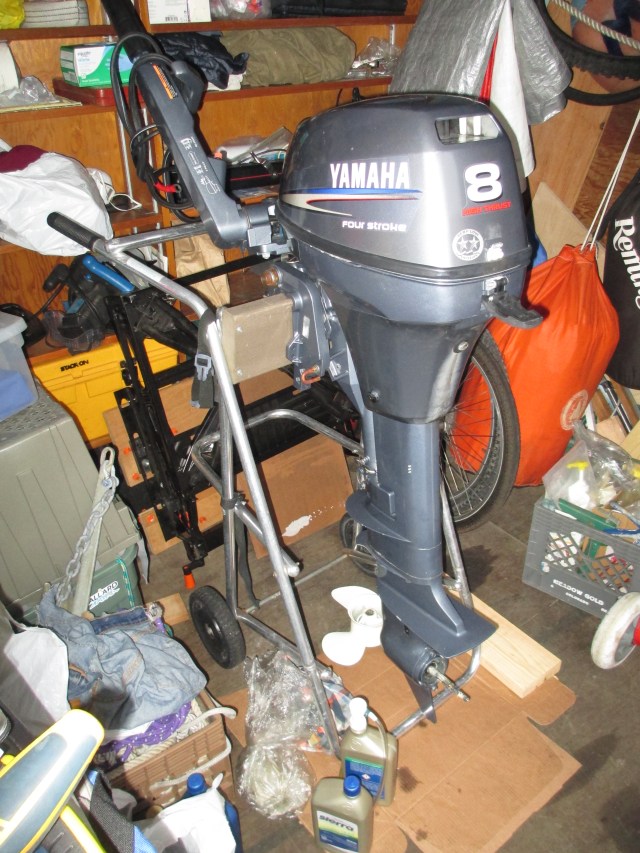
This is the stern of the boat backed up to the dock. This is how I am able to remove the motor easily.

I then take the motor to the storage unit where it is much easier to perform maintenance.
List of to-dos:
Me
Day 2 – Inspect bottom, photos, future haul out to-dos list
Day 3 – Disassemble, Inspect, Reassemble Bow Platform, Bowsprit, Anchor Chafe Guards, Change Zinc on the rudder pintle
Day 4 – Disassemble, Inspect, Lubricate, Reassemble Seacocks, Inspect, Lubricate Motor Mount
Day 5 – Prep boat for floating
Day 6 – Check the through Hulls upon float and return to slip
The Yard
Day 2 – Waterline – Strike and prep
Day 3 – Prep Bottom, 1 coat applied
Day 4 – 2nd coat applied
Day 5 – Boat moved and painted under blocks
Day 6 – Put the boat in the water

Paint it Black. A different color is good for contrast against the undercoat.
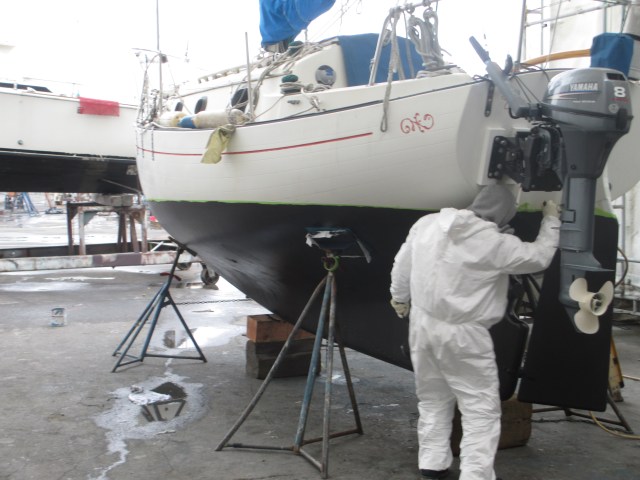
Alex doing touch ups.

The disassembled Galley Sink seacock. These are the inner working of the Groco SV seacock. I have disassembled and lubricated the three seacocks on the boat.

Just what it says. The plug and disc go in there.
The step ladder to the right was helpful for inspecting the bowsprit to the left.

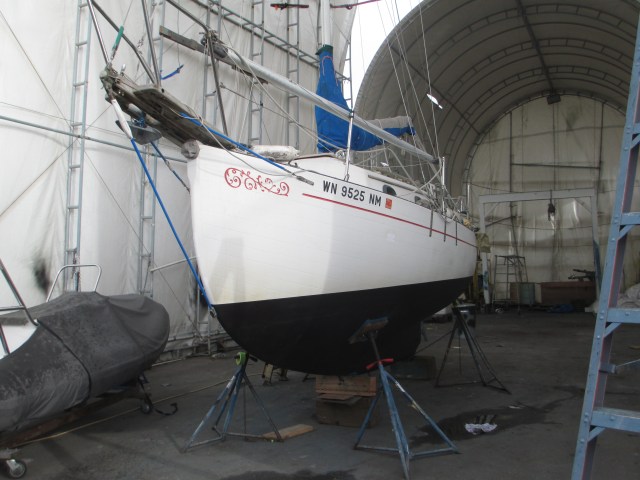
From the starboard quarter.

The Stern.

Ready to float again.
This morning I had a haul-out for the Flicka scheduled at the Yard in Ballard at 9am. It started snowing at about 7pm last night and the temperature dropped below freezing overnight. I awoke this morning to an inch of snow at 27 degrees. The heat was on overnight so there was chunky layer of ice between the deck and the snow. I went and got some coffee and stopped by the boat yard to make sure we were still on. They were gung ho. The business must go on. So back to the boat for last minute preparations. Brush off the snow, pack for the day, throw out the garbage, start the motor. The motor started well enough though it took a bit extra time to warm up. I excused it. I warped the boat from the slip and made the short trip to the Yard. A bit of extra caution was needed walking on the decks with the remaining ice and snow, but our arrival was uneventful. I watched the yard hoist the boat out, took some pictures, talked to the yard manager and went to about my day. I would be awaiting an estimate for various requested items. More on that on a later time. 
Up

And Up Close

Pressure Wash That Turns to Blue Ice
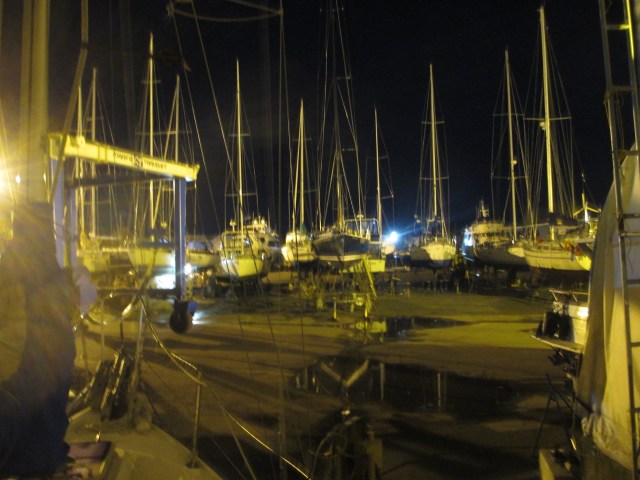
My View From the Veranda. Very Cold with a Halogen Glow. Surrounded by Fish Out of Water.
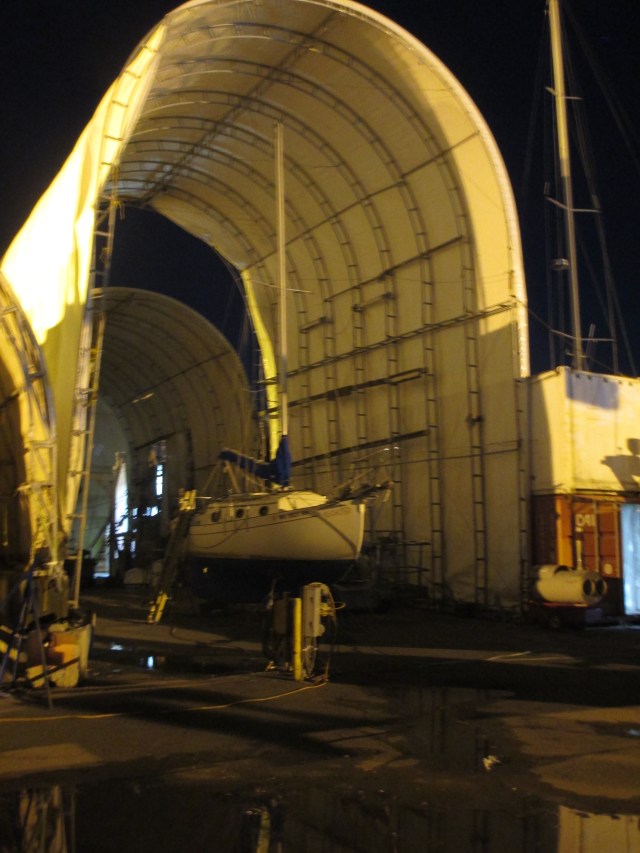
Little Boat in a Big Tent. Not Sure Why I Ended Up in Here. The Yard is Pretty Full. A Ladder to Board and Shore Power for the Heat.


